


Updated 2021 - Best way to clean the Mighty!
OLD WAY to Clean the Mighty Vaporizer
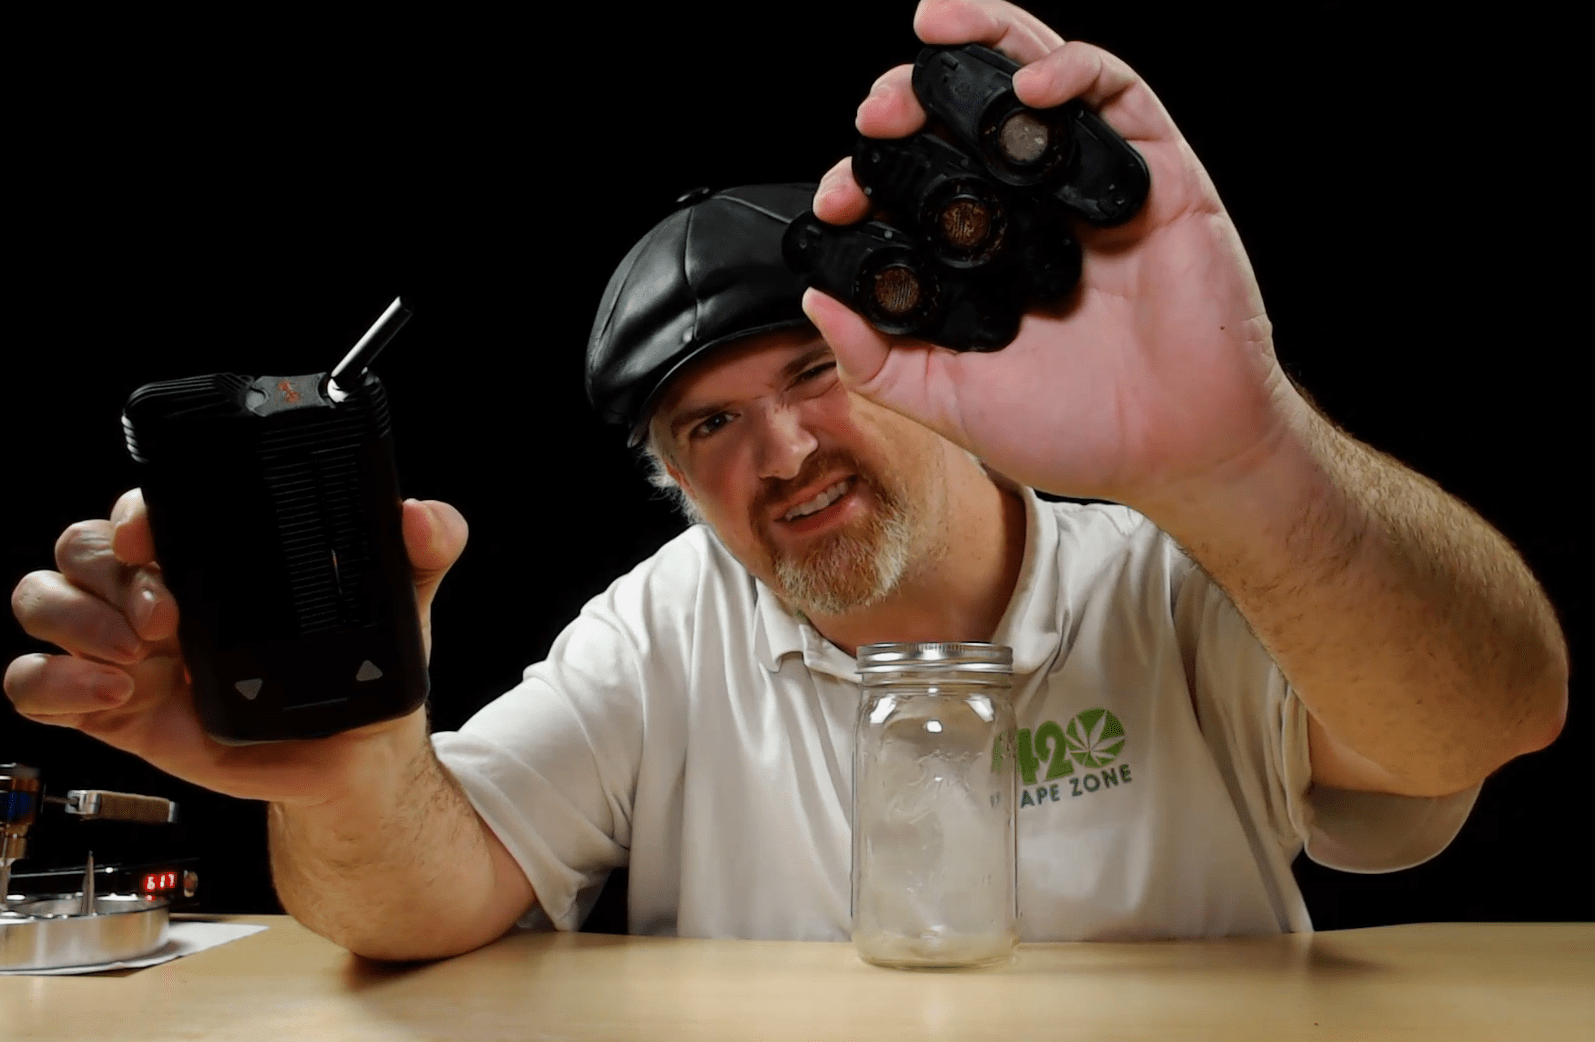
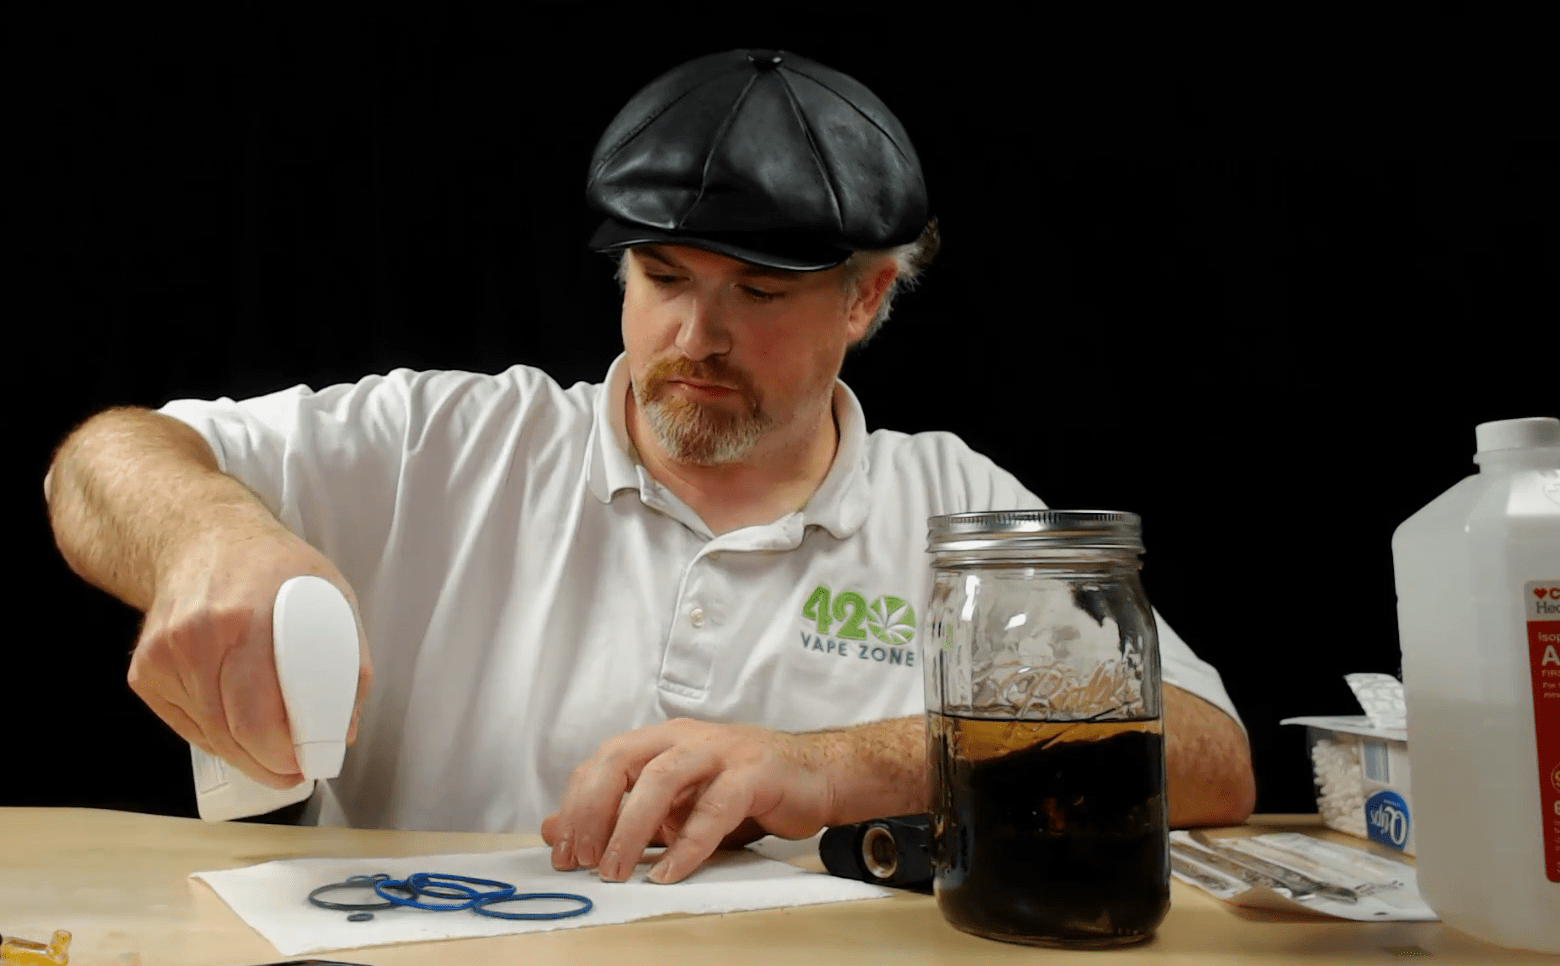
The Mighty is a great vape! It's one of the best weed vapes available. Cleaning the Mighty vaporizer is essential to maximizing performance. If your Mighty is your most used vaporizer, we highly recommend buying the 3x pack of cooling units. With 4 cooling units, you can cycle through all 4 and clean them all at once. This means 1/4th of the cleaning energy!
Best way to clean the MIGHTY weed vaporizer from 420 VapeZone on Vimeo.
How Often to Clean
With daily use, you're going to need to clean the cooling unit about every two weeks. With lighter usage, you only need to clean the Mighty once a month. Vaping at higher temperatures and/or with finer grinds will increase the frequency of cleaning requirements. I recommend a medium/coarse grind.
What you need:
- q-tips
- metal poker tool or wooden skewer
- 91% isopropyl alchol
- paper towel
- jar or container(s) for soaking
- 3x Cooling Units (recommended)
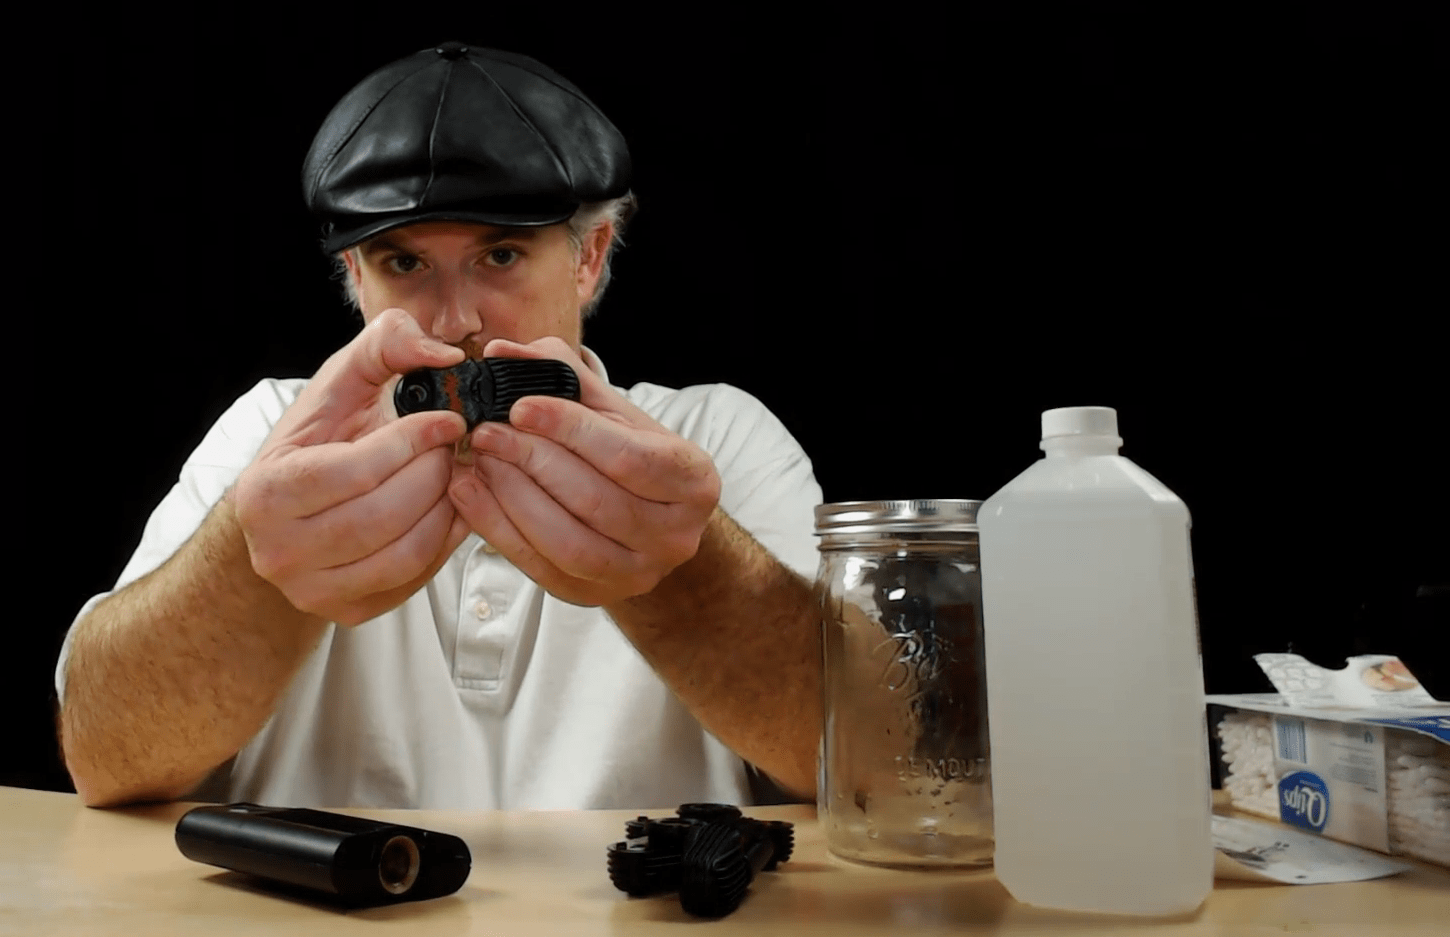
Disassembly of the Mighty Cooling Unit
The first thing I like to do is remove the mouthpiece from the cooling unit. I prefer to manually clean the mouthpiece.
To remove the top part of the cooling unit you must first slide the plastic locking mechanism to the side. While the cooling unit is still secured to your Mighty, start wiggling the cooling unit from left to right to help dislodge the top portion. If you're like me and use your Mighty every day, reclaim builds up within the cooling unit. This could make removing the top part of your cooling unit sometimes difficult. It helps to attach the cooling unit to the body of the Mighty and use the vaporizer as additional grip and leverage.
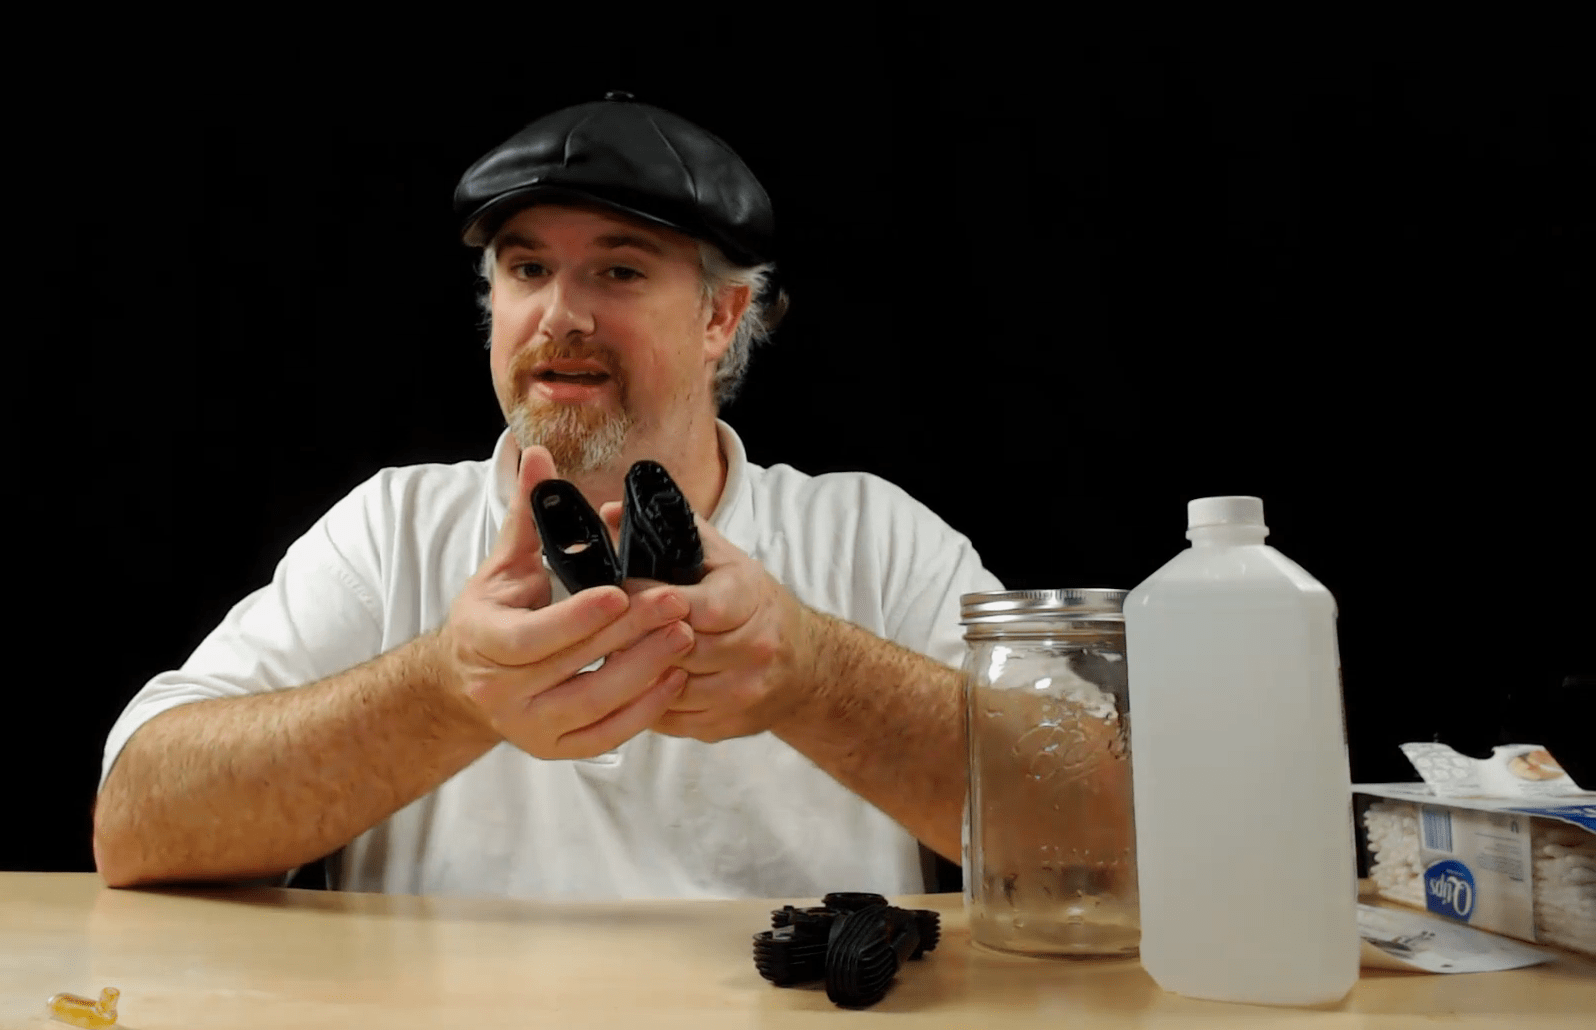
Removing The O-Rings From Mighty Cooling Unit
Sometimes the o-ring around the cooling unit can be stuck in place because of excess reclaim. Storz & Bickel thought of this and designed a little groove into the cooling unit. Take your stir stick and place it into the groove, then nudge the o-ring out of place, as demonstrated below:


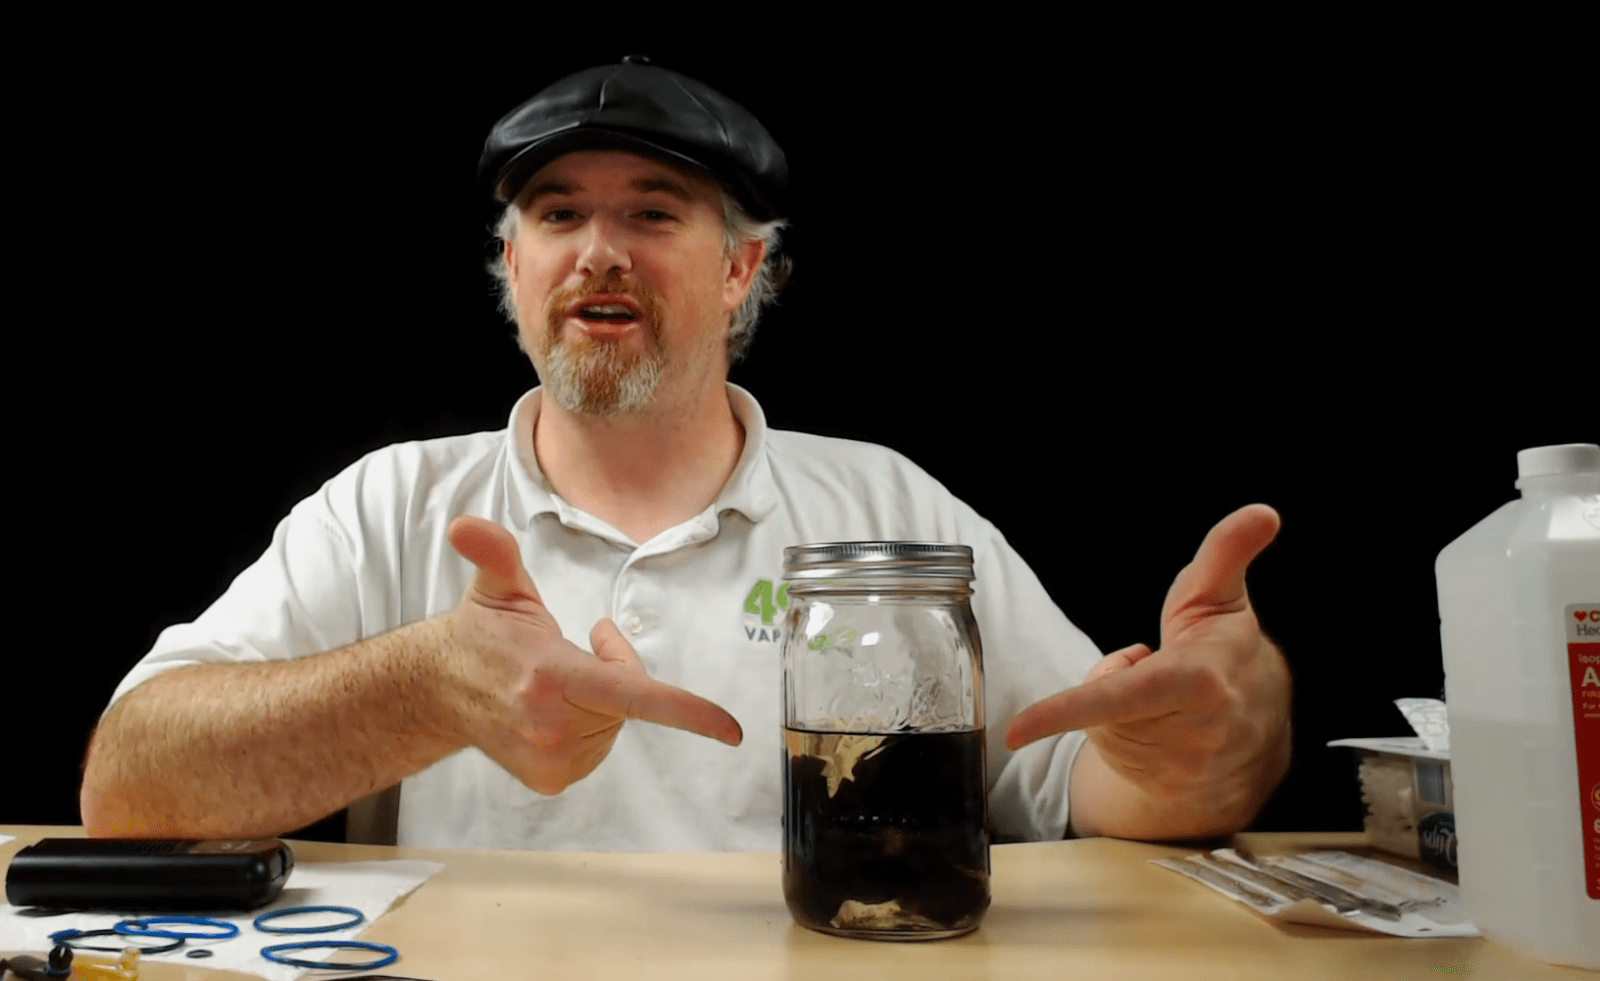
After removing the silicone rings, the Mighty cooling unit(s) get soaked in 91% isopropyl alcohol. I find 91% to be the right number. 99% is more expensive and not noticeably faster. 71% isn't much cheaper, but it's weaksauce compared to 91% and 99%. 91% provides the best value and is readily available at CVS, Walgreens, and Amazon prime.
Remove Mighty Screens
I would advise against removing the screen for the Mighty during regular maintenance. Frequent removal of these screens tends to degrade the lifespan. For the past year, I've been just dunking my cooling unit with the screen intact and I haven't seen a negative impact as a result.
Clean the Mighty Bowl
Dip q-tips in the alcohol and gently scrub the chamber and surrounding area. If you're not using concentrates, the chamber should remain relatively clean. Five or six q-tips should be enough to get the bowl scrubbed clean. Be careful with the alcohol, don't let it drip down into the Mighty's convection heater.


Clean the silicone bands / o-rings
Now it's time to clean the silicon bands / o-rings. It's a good idea to minimize the amount of exposure we put these silicon bands and o-rings to ISO alcohol. I like spraying ISO alcohol on the silicon bands / o-rings that are on the paper towel. Make sure to thoroughly dry the bands and o-rings using a fresh paper towel.


Scrub the Cooling Unit
Remove the pieces of the cooling unit from the alcohol and finish cleaning them with q-tips and skillet/poker tools. I like to let the pieces soak for at least 10 minutes, just to help them come clean with less scrubbing. It's important to clean the area around the vapor path and get all the sticky stuff off. If the crud is too stubborn, apply more alcohol or soak for a few more minutes. A needle, wooden skewer, or your favorite dabber/poker tool should make fast work of any gunk stuck in the corners.
Rinsing the parts
After soaking and scrubbing, give the remaining parts a rinse under the hottest water you can tolerate. This will make sure there's no nasty alcohol taste in your first vape session. Feel around for any remaining sticky areas and finish them off with another q-tip or a squirt of ISO.
Reassemble the Mighty
Put the bands back on the pieces of the cooling unit. Press the pieces back together, being careful that the locking mechanism is in the unlocked position. If the outer silicon band is softened and stubborn, moisten it with a light coat of water. Pop the mouthpiece back in.
If you skipped rinsing, wait 10 minutes before vaping just to make sure the alcohol vapors are gone.

Just cleaned my Mighty for the first time. And I waited too long. Next time I will of course do it much sooner. But with this website and many little videos, it was very easy to do so. It took me a while longer because so much crud had of course accumulated and needed long soaking and shaking, but I did exactly as instructed and it got all cleaned up. I was surprised how easy it actually was, I thought it was more complicated, this is why I had avoided doing it. Wont happen again now. Easy peasy. Same for my Volcano. Very easy. Good machines. The best.
After cleaning my Mighty now a few times, I realize it can be even easier than the video. Only sofar as you don’t have to take the screen and the mouthpiece out of the cooling unit. Just separate the cooling unit, take off the silicone ring of course, and then just put both pieces into the 91% alcohol for 30 seconds and all will be clean, even the screen. This way the screen will last much much longer and is less painful of course, and the mouthpiece which is very tight will last forever. Why take it apart, you only put all the pieces into the alcohol anyway. Clean it, dry it, put it back together, toke!!! My cooling unit wouldn’t last 2 weeks, I think it depends alot on the stuff you put into it. Some of the top stuff will goop up your unit much faster, but then, only 2 steps and you are clean again. I do it twice a week. Happy toking!
Nicely done Troy very useful video, thank you.
Thanks for this Troy, it’s always nice to have a guide for cleaning more complicated units. Your pictures and description are really helpful, thank you!